Oh blog, my blog, how I've neglected you, humble blog!
So I had a victory this week: fitting back into a pair of pre-pregnancy pants. The largest ones I own. They were tight, and I muffin-topped all over the place, requiring my pregnancy belly band to hold my fat down and not look as ridiculous. My next goal: to fit into my nice jeans by the time we have our birth class reunion, which is just over a month away. So now comes the task of shedding those pesky post-pregnancy pounds. I'd throw in a few more "p" adjectives if I wouldn't annoy the heck out of everyone. Oh, what the hey, here they are: petrifying, putrefying, paralytic, presumptuous, (but never perfect!) pounds!!
:-)
To shed some light (or pounds?) on the subject, I've decided to start the "Couch to 5k" program I've been hearing so much about. Now, I'm not exactly starting from "couch", so I started my workout at week 3 instead of week 1. Not gonna lie, the workout kicked my butt. Not like "pass out on the floor" or "go puke" kicked my butt, but still. I'm sweaty and tired, yet somehow, energized.
I still have 10 pounds to go to reach my pre-pregnancy weight, and another 15 after that to my likely optimal weight. But we're taking one step at a time.
I also just want to throw this out: There's nothing like watching "The Biggest Loser" to inspire one to lose a large baby's worth of weight. Those people lose as much in ONE WEEK as I have left to my pre-pregnancy weight! However, I typically find myself watching it while eating junk food! Heh. I feel a tiny bit guilty for those 2 Reese's mini peanut butter cups I ate earlier today. Sigh. I'm not perfect. And I won't be, this side of heaven anyway. In the meantime, Lord help me!
Losing weight is a victory to me! Still, since my 4 loyal followers probably are bored by now, I promise I'll have something more pleasant to blog about next time.
Tuesday, February 15, 2011
Sunday, February 6, 2011
Baby Legs on a Budget (How-to)
I love those baby legwarmers that are so popular right now, especially since I have a winter baby! Diaper changes are much easier without having to always take off pants, undo onesies, remove socks, etc. But at 12+ dollars a pair, who can afford them??
So I decided to try my hand at making some. Another benefit to this is that they will actually fit my daughter now, at her current dimensions, instead of waiting for the perfect 5 minutes that bought ones will fit her.
Now, I do knit and crochet some, but what I can do is very limited, and I can't even come close to knitting or crocheting socks or legwarmers! I'm much more at home in front of my sewing machine, so here's what I did.
1. First, I bought a pair of christmas socks from walmart at their after-christmas clearance sale. They cost 75 cents.

2. Then, I tried one of the socks on my daughter while she was content on the changing pad after a diaper change. I pulled the sock as high as I wanted it on her thigh, then marked where I wanted the length and width of the legwarmer at her ankle. (Note: I marked it with my finger until I took it off her. Then I marked it with a pin.)
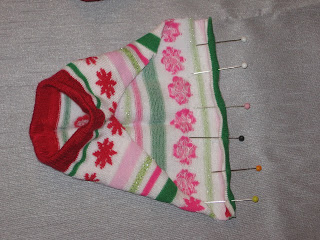
3. I then cut from about an inch below the top of the sock (leaving the top cuff intact) at an angle until I got to the pin, then cut straight across where the ankle was going to be. I left about 1/4" seam allowance. In retrospect, sock material is VERY stretchy and hard to sew, so I should have tried to leave a larger seam allowance, like 5/8". But I typically prefer a 1/4" seam allowance, so that's what I did for this project. Once I had one sock cut, I used it as a template to cut the other sock the same.

4. I sewed the ankle cuffs next. I used a LOT of pins and my iron to help me turn the seam twice, then I stitched it with my 1/4" seam allowance and a straight stitch on my sewing machine. I repeated this step on the other sock as well.

(How I pinned it)
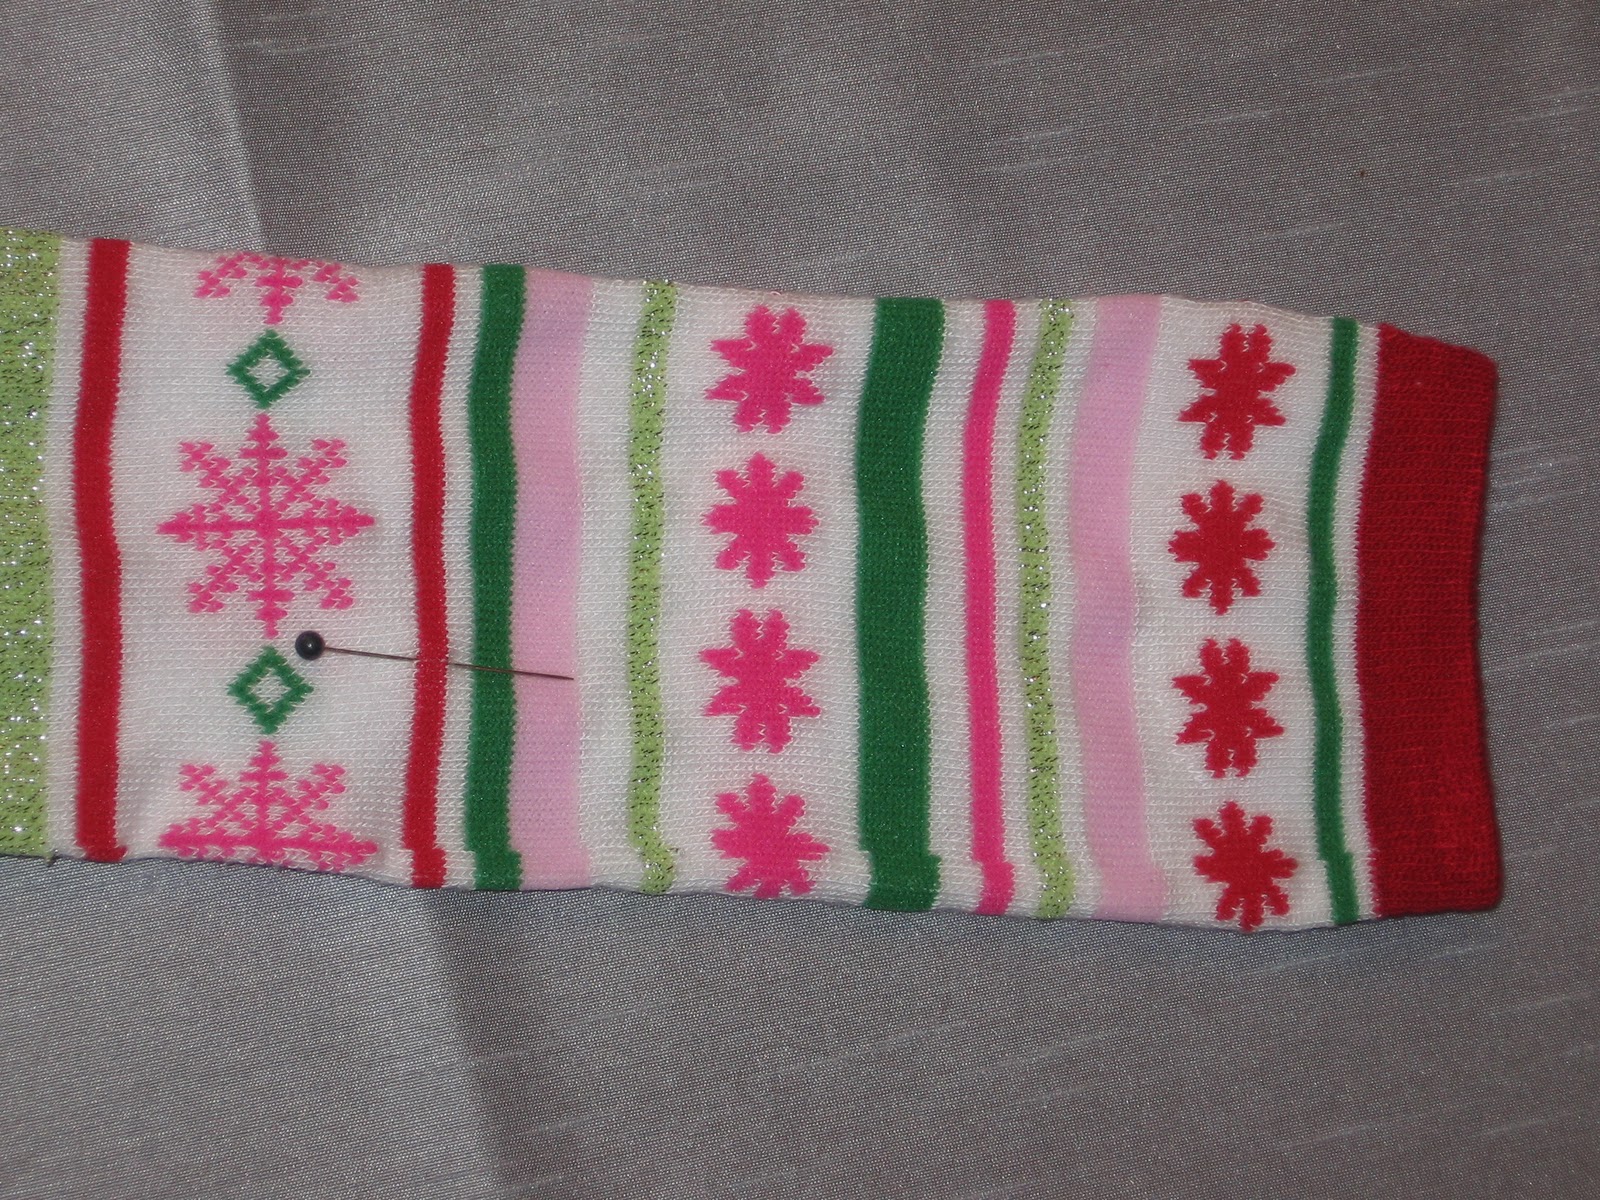
5. Lastly, I turned the sock inside-out, then straight stitched the seam for the back of the legwarmer, maintaining my 1/4" seam allowance. I had to sew off the edge of the sock as I got near the thigh cuff, to make it look smoother. I repeated this step for sock 2.

(left one pinned, right one pinned and sewn. Yes, I sewed over my pins. Bad me.)
And here's the final result! Baby Legs! They only cost 75 cents, plus the thread that I had on hand. My machine was already threaded with purple, so that's what I used, since I was too lazy to change it.

Finished Baby Legs!
And if you want to see them on my beautiful model, here they are:

Naomi wearing mommy-made baby legs!
BONUS!
I was looking at the leftover sock bits thinking I could make something with them, so I did a bit of prowling, and used this tutorial to make Naomi a sock monkey! (I did modify it a bit, since I prefer the traditional embroidery-thread monkey face to button eyes, and I prefer the more traditional rounded ears, too.) She adores it (waaaaay more than the baby legs!), and now she can match her monkey, too!


Hope you enjoy my little how-to on making your own babylegs! I actually have 2 more pairs of knee-high argyle socks that I've worn holes through the feet on, so I think I'm going to make her some more.
Tuesday, February 1, 2011
Autumn Oatmeal
Time to share a recipe again! It is just so utterly scrumptious I couldn't help it, despite the fact that it's a cold, blizzardy February day instead of Autumn, like the recipe's name suggests.
My parents invented this recipe as a sweet but not sugary vegan breakfast, extremely innovative (and extra yummy) in that they cook the oatmeal in apple juice instead of water or milk.
They haven't written it down, however, so now it's my turn to share this deliciousness with the rest of the world. And yes, I took this photo of our breakfast this morning!

1-3/4 cups 100% Apple Juice (not from concentrate)
1 cup Oatmeal (quick-cooking OR regular)
1 apple, Gala or Macintosh
1/2 cup raisins
1 tsp cinnamon
a dash of nutmeg
In a medium pot, bring apple juice to a boil. Core and chop apple, then add it along with the rest of the ingredients to the pot. Cook for the recommended amount of time for your oatmeal type. (I used quick-cooking oats, so one minute). Serve immediately. Makes 2 generous servings. Recipe may be doubled (or tripled, or...)!
My parents invented this recipe as a sweet but not sugary vegan breakfast, extremely innovative (and extra yummy) in that they cook the oatmeal in apple juice instead of water or milk.
They haven't written it down, however, so now it's my turn to share this deliciousness with the rest of the world. And yes, I took this photo of our breakfast this morning!

Autumn Oatmeal
1-3/4 cups 100% Apple Juice (not from concentrate)
1 cup Oatmeal (quick-cooking OR regular)
1 apple, Gala or Macintosh
1/2 cup raisins
1 tsp cinnamon
a dash of nutmeg
In a medium pot, bring apple juice to a boil. Core and chop apple, then add it along with the rest of the ingredients to the pot. Cook for the recommended amount of time for your oatmeal type. (I used quick-cooking oats, so one minute). Serve immediately. Makes 2 generous servings. Recipe may be doubled (or tripled, or...)!
Subscribe to:
Posts (Atom)