My wonderful friend Laura requested a long time ago that I post a tutorial on how I make my wreath forms for free from stuff I find around the house! Well, here it is, and hopefully in time for anyone reading to make a wreath for Christmas. Or New Years, or Valentine's Day, or St. Paddy's, or...
Yeah.
First up, gather your supplies: I gathered a cardboard box, a large plate, a medium bowl, plastic wrap, grocery store plastic sacks (around 2 dozen, depending on size), scissors, and a pencil. I originally had a sharpie, but traded it for a pencil since I didn't want to get sharpie marks on my dishes!

Supplies: box, plate, bowl, plastic wrap, plastic bags, scissors, sharpie pencil
To start, put the plate face-down on the box and trace it. I like a nice, thick corrugated cardboard as it seems to hold up better. Remove the plate, then put your bowl face-down in the middle of the circle, get a little helper (as pictured), and trace the bowl. My cardboard wreath form is about 12" across (plate sized), and the hole in the middle is about 7.5" across (bowl sized).

My little helper tracing the bowl with me!
Then, cut the cardboard out. I found it easier when making several wreaths to do this assembly-line style, tracing several wreath forms first and then cutting them all out at once. After you have a big cardboard O, the next step is to wrap the plastic bags to the front of the wreath tightly with plastic wrap, forming the nice thick wreath shape. I started out cutting long pieces of plastic wrap, but eventually found it was easier to just take the whole roll out of the box and pass it through the center as I wrapped. It took a little adjusting to get the bags to be squished down and shaped just right, but I didn't worry too much about it as I knew I'd be wrapping the whole thing with yarn anyway once I finished. I did overlap each bag a little, and I did secure each bag individually with plastic wrap.
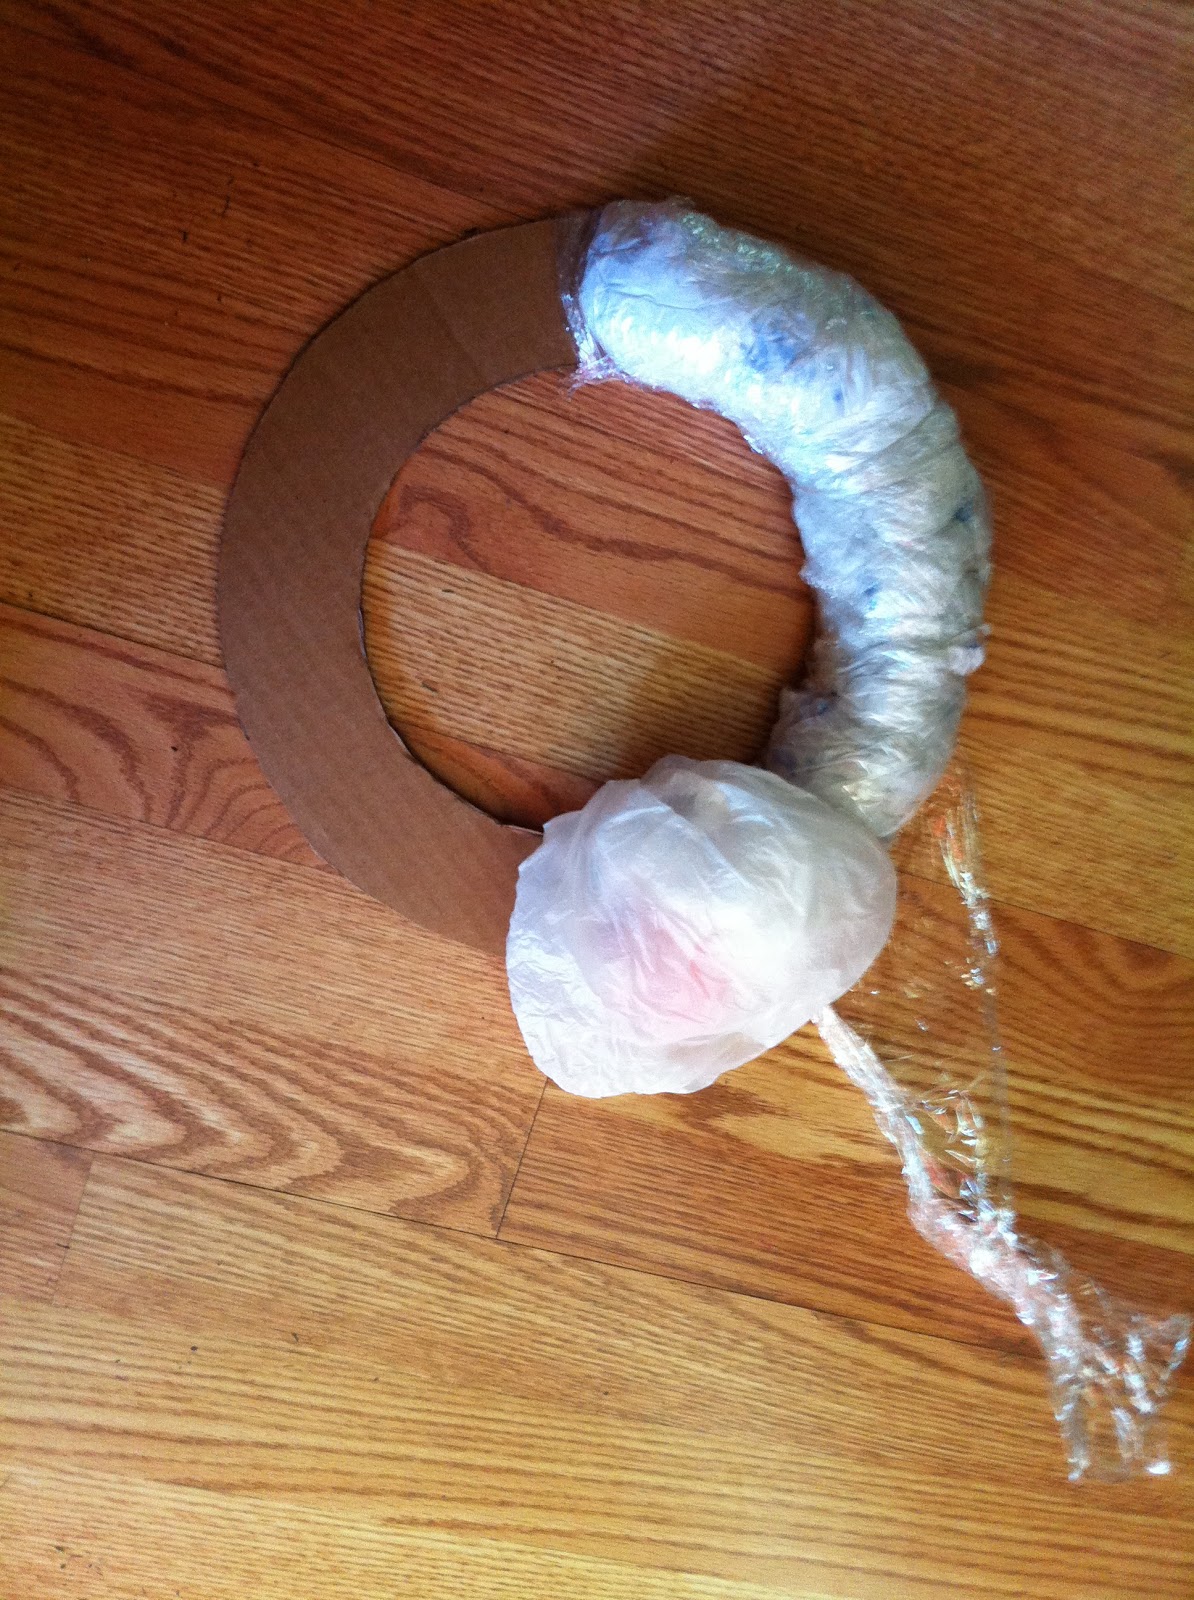
Cardboard O with plastic bags being secured to the front with plastic wrap
When you're done, you will have a slightly lumpy but mostly uniform wreath shape. The plastic wrap should be "sticky" enough to cling to itself without having to use any extra tape. I don't put the plastic bags on the back of the wreath as I like it to have a flat back for my front door.

Finished wreath form (lumps are ok at this point)
Lastly, decorate your wreath! If you are using yarn to wrap it, I'll tell you a secret: If you use a thick and chunky yarn, it takes a LOT less time to wrap than if you use a normal thinner yarn! In the picture below, you can see how thick the brown yarn is that I wrapped my wreath with. The whole thing was completely wrapped in less than an hour while I watched a program on t.v. I also was able to even out any uneven spots from the plastic bags as I wrapped the wreath with yarn, wrapping tighter over the spots that poked out more.

Wrapping wreath form with yarn
I finished my wreath with a contrasting felt argyle pattern in autumn colors, and felt roses. Here it is on my front door!

My autumn wreath on my front door!
Happy wreath-making! I would love to see pictures of your finished products if you use my tutorial to make wreath forms!
Very nice, Shelley!
ReplyDeleteLove it! I am definitely going to try this!
ReplyDelete